Handmade Photo Frame
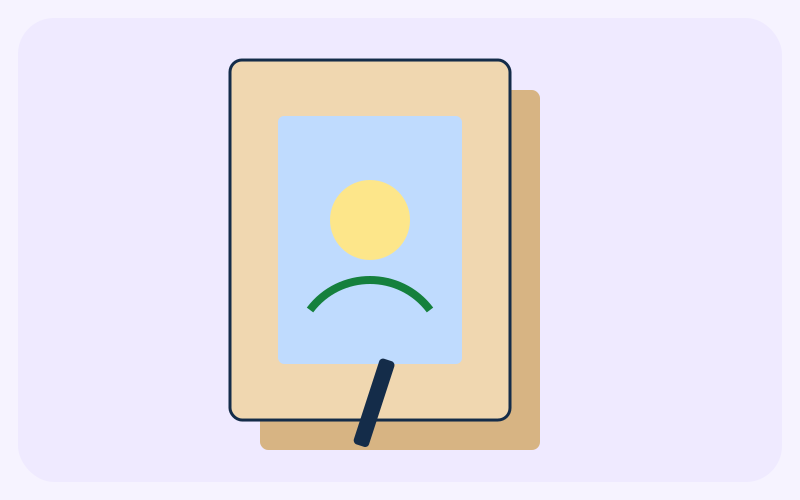
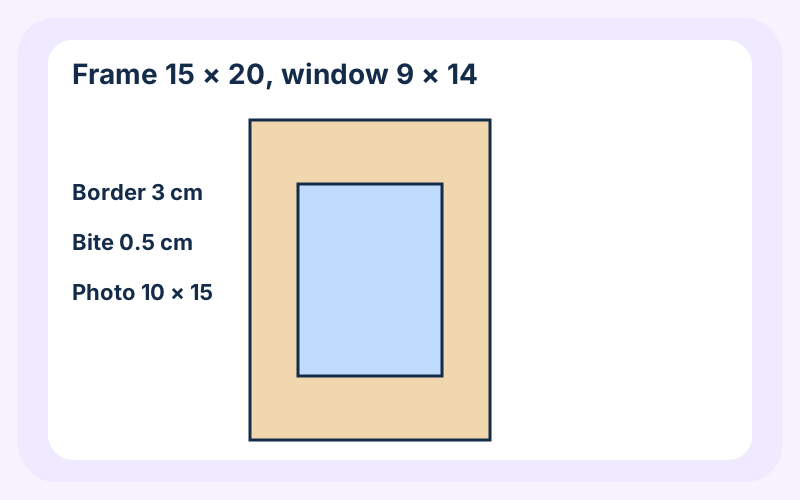
A cardboard frame for a 10 × 15 cm photo. The window is 9 × 14 cm, so it covers 0.5 cm of the print on every side and the photo cannot fall through. A 3 cm border around that window makes the frame 15 × 20 cm. The photo sits in a pocket. It is not glued down.
- Difficulty
- Beginner
- Time
- 30–60 min
- Budget
- $2–$7 USD (7–26 AED)
Estimate; varies by location. The dirham figure uses the UAE peg of 3.6725 per US dollar, rounded to the nearest dirham. It is not a shop quote.
Materials
Ticks stay in this browser only.
Qty: two pieces 15 × 20 cm, plus a strut 6 × 12 cm
Purpose: Front, backing, and stand
Qty: one sheet at least 16 × 21 cm
Purpose: The front, with a small wrap onto the back
Qty: 15 × 3 cm, 6 × 2 cm, and 8 × 1 cm
Purpose: Pocket, hinge, and stay
Qty: a thin bead on the border
Purpose: Joins the front to the backing, not the photo
Qty: 1
Purpose: The picture. It slides in and out.
| Done | Item | Qty | Purpose |
|---|---|---|---|
| two pieces 15 × 20 cm, plus a strut 6 × 12 cm | Front, backing, and stand | ||
| one sheet at least 16 × 21 cm | The front, with a small wrap onto the back | ||
| 15 × 3 cm, 6 × 2 cm, and 8 × 1 cm | Pocket, hinge, and stay | ||
| a thin bead on the border | Joins the front to the backing, not the photo | ||
| 1 | The picture. It slides in and out. |
Tools
- Ruler and pencil
- Craft knife
- Cutting mat
- A book, as a weight and a square
Steps
Steps 1: Cut two boards the same size
Cut two pieces of cardboard, each 15 × 20 cm. One is the front. One is the backing. Check the corners against a book. If the two boards do not match, recut both. Do not trim one and keep the window math for the other.
Steps 2: Mark a window 3 cm in from every edge
On the front, measure 3 cm in from every edge. The opening is 15 − 6 = 9 cm across, and 20 − 6 = 14 cm tall. A 10 × 15 cm print is 0.5 cm larger than that window on each side, because (10 − 9) / 2 = 0.5 and (15 − 14) / 2 = 0.5.
Steps 3: Cut the window and test the photo
Pierce a starter hole inside the rectangle, not on the line, and cut out the 9 × 14 cm opening. Hold the photo behind it. You should see the picture and a hidden 0.5 cm rim of photo all the way around. If the window is wrong, recut only while you still have at least 2 cm of border. A border under 2 cm gets weak.
Steps 4: Paper the front and line the cut edge
Glue decorative paper on the front. A sheet 16 × 21 cm gives a 0.5 cm wrap to the back. Cut an X in the paper over the window, corner to corner, and glue the four flaps onto the back of the front board so the cut edge is lined. Smooth from the middle of each border outward.
Steps 5: Make a pocket, not a glue joint
On the backing, glue a paper strip 15 × 3 cm along the bottom, stuck only on the bottom and the side edges, open at the top. Slide the 10 × 15 cm photo in to test it, then take it out before you close the frame. Glue on the print will wrinkle it, and you cannot change the photo.
Steps 6: Glue the border, clear of the window
Glue the front to the backing along the 3 cm border. Stay 0.5 cm clear of the window so the glue cannot reach the photo. Press under a book for about 15 minutes with scrap paper between the book and the frame.
Steps 7: Hinge a stand and limit it with a stay
Cut a strut 6 × 12 cm and a paper hinge 6 × 2 cm. Glue half the hinge to the strut and half to the backing, 4 cm down from the top. Center it: the frame is 15 cm wide, so the strut starts 4.5 cm from the left, because (15 − 6) / 2 = 4.5. Glue an 8 × 1 cm paper stay between the strut and the backing so the strut cannot open flat.
Steps 8: Stand it up and put the photo back
Slide the print into the pocket. It should sit behind the 0.5 cm bite and stay put when you tilt the frame gently. If it rattles, add a small paper tab at the open edge of the pocket, still not glued to the photo. If the frame tips, shorten the stay. Do not add weight to the front.
Final result
A 15 × 20 cm frame with a 9 × 14 cm window and a 3 cm border, holding a 10 × 15 cm photo by a 0.5 cm bite on each side. A 6 × 12 cm strut and an 8 cm stay keep it upright. The photo comes back out.
Safety
- Start the window cut from a hole in the waste, so the knife is not starting on the border you need to keep.
- Keep fingers behind the ruler.
- The stay is a light stand for a cardboard frame. Do not hang the frame from a nail by the stay.
- Use PVA or a glue stick on the border. You do not need spray adhesive for a piece this small.
Tips and common mistakes
- Mark the window before you paper the board. Paper hides a bad line.
- The bite is 0.5 cm because (10 − 9) / 2 and (15 − 14) / 2 are both 0.5. If you change the window, redo both.
- Common mistake: gluing the photo to the backing. You cannot replace it.
- Common mistake: a strut with no stay. It opens flat and the frame slides down.
- Center the strut at 4.5 cm from the left on a 15 cm frame.
Related projects
Crafts & Gifts
Pop-up Greeting Cards
A 10 × 14 cm folded card with one measured pop-up panel that lies flat when it closes.
- Beginner
- 30–45 min
- $3–$8 USD (11–29 AED)

Personalized Gift Box
A 2 mm cardstock box, about 12.4 × 8.4 × 5.2 cm outside, with a lid that slides on.
- Beginner
- 30–45 min
- $4–$10 USD (15–37 AED)

DIY Desk Organizer
A 20 × 12 × 10 cm cardboard tray with four compartments for pens, clips, and notes.
- Beginner
- 30–45 min
- $2–$6 USD (7–22 AED)