Self-Watering Plant Pot
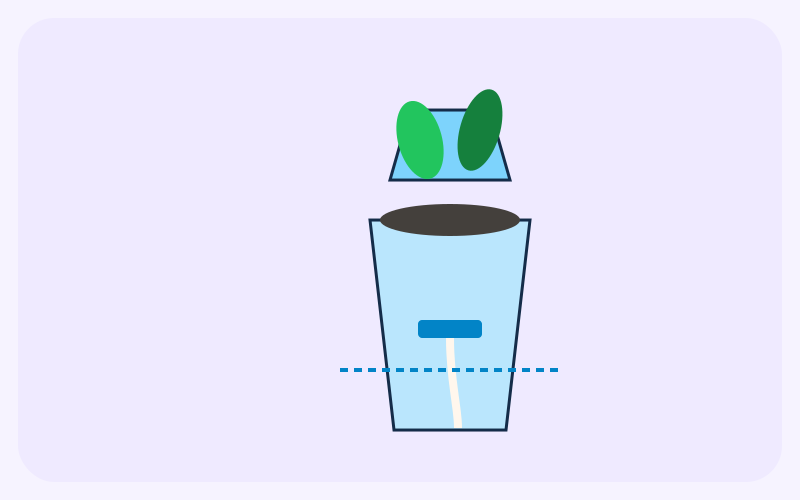
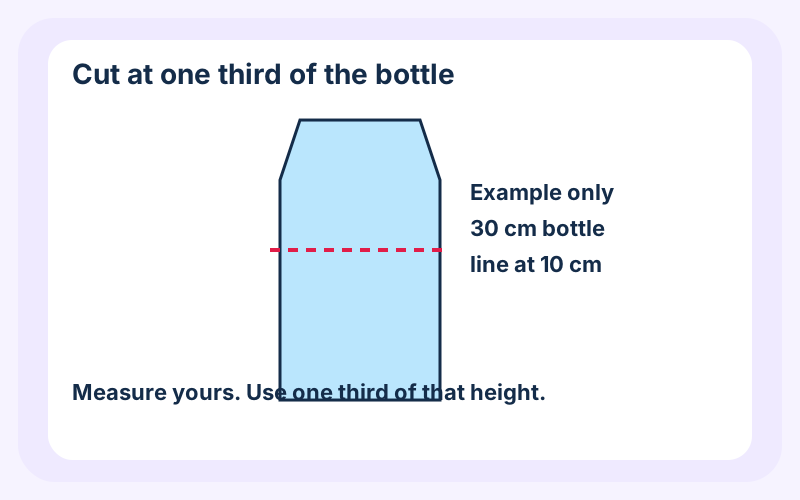
A clear drink bottle becomes a small planter with its own reservoir. You cut it about one third of the way up, turn the top upside down into the base, and run a cotton wick from the water into the potting mix. A 30 cm bottle is the worked example, so the example line sits at 10 cm. Measure your bottle and use one third of that height.
- Difficulty
- Beginner
- Time
- 20–30 min
- Budget
- $3–$10 USD (11–37 AED)
Estimate; varies by location. The dirham figure uses the UAE peg of 3.6725 per US dollar, rounded to the nearest dirham. It is not a shop quote.
Materials
Ticks stay in this browser only.
Qty: 1, rinsed, with its cap
Purpose: Reservoir and planter. No longer used for drinking.
Qty: 15 cm
Purpose: Carries water from the reservoir into the mix
Qty: enough to fill the inverted top
Purpose: Holds the plant. Not garden soil from outside.
Qty: 1
Purpose: The planting
| Done | Item | Qty | Purpose |
|---|---|---|---|
| 1, rinsed, with its cap | Reservoir and planter. No longer used for drinking. | ||
| 15 cm | Carries water from the reservoir into the mix | ||
| enough to fill the inverted top | Holds the plant. Not garden soil from outside. | ||
| 1 | The planting |
Tools
- Marker
- A paper strip, to keep the cut line level
- Scissors or a craft knife
- Measuring tape
- A skewer, only if you pierce the cap
Steps
Steps 1: Clean the bottle and mark one third
Peel the label, rinse the bottle, and let it dry. Measure from the base to the top of the cap. Divide by 3. On a 30 cm bottle the line is 10 cm up from the base. Wrap a paper strip around the bottle at your mark so the line stays level, then trace it.
Steps 2: Cut the reservoir
Cut on the line. The bottom is the reservoir. The top, with the neck, is the planter. Trim any points. If the rim is sharp, cover it with a strip of tape. When you set the top in cap-down, the two cut rims should meet and the shoulder should rest on the base.
Steps 3: Thread the wick
Cut the cotton 15 cm long. Take the cap off. Poke a hole only as wide as the wick. If the cap cracks, leave it off, thread the wick through the open neck, and pack a little extra cotton so dry mix does not fall through. About 5 cm hangs into the reservoir. The other 10 cm coils in the mix.
Steps 4: Seat the planter in the base
Turn the top upside down and set the neck into the reservoir. The hanging wick has to reach the bottom. If it stops short, cut a longer piece. Do not stretch a short wick and hope it drinks. The planter should sit without rocking.
Steps 5: Set the water line
Pour water into the reservoir until it is about 1 cm below the soil chamber. The mix itself should not sit in the water. The wick is what moves the water up. Mark that level on the outside of the reservoir so the next refill is obvious.
Steps 6: Fill and plant
Coil the upper wick in the neck, add potting mix, and set the plant so the root ball touches the coil. Firm the mix gently. Water once from the top to settle it, then empty any extra that put the reservoir over the 1 cm gap. Garden soil packs hard in a bottle and can bring pests in. Use potting mix.
Steps 7: Check the wick on the first day
After a few hours the wick should feel damp above the neck. If the mix stays dry, the wick is missing the water or it is pinched. Pull it, rethread it, and reset the water line. Keep the bottle out of a window that bakes the plastic all afternoon. How many days a fill lasts depends on the plant and the room. This build does not name a number.
Final result
A two-part pot: a reservoir you can see through, a soil chamber sitting neck-down, and a 15 cm cotton wick with about 5 cm in the water. Refill when the level drops below the wick.
Safety
- Plastic edges can be sharp. Tape a ragged rim before you handle it much.
- Cut on a table, not in your lap.
- This bottle is no longer for drinking. Do not store food in either piece.
- Wash your hands after handling potting mix.
- An adult should pierce the cap. A slip with a skewer is the sharp hazard in this project.
Tips and common mistakes
- Write your measured cut height on the bottle before you cut. 10 cm is only the line for a 30 cm bottle.
- Cotton moves water more reliably than a polyester cord. Use cotton.
- Common mistake: filling the reservoir until the mix is wet from below. Keep the water about 1 cm under the soil chamber.
- Common mistake: a cap hole so large that mix falls into the water. The hole should grip the wick.
- Leave the reservoir unpainted so you can see the water.
Related projects
Garden & Plants
Mini Balcony Herb Garden
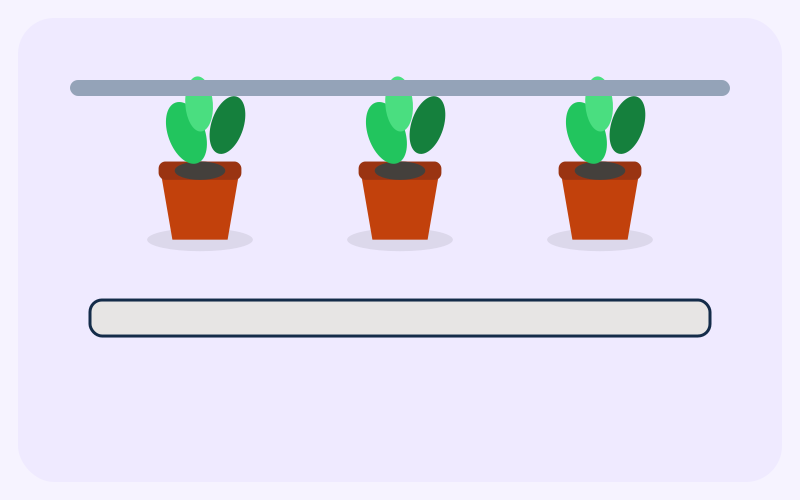
Three drained pots of culinary herbs in a 52 cm row, with mint in its own pot.
- Beginner
- 45–60 min
- $12–$28 USD (44–103 AED)

DIY Desk Organizer
A 20 × 12 × 10 cm cardboard tray with four compartments for pens, clips, and notes.
- Beginner
- 30–45 min
- $2–$6 USD (7–22 AED)

DIY Ambient Room Lighting
A USB LED strip in a cardboard channel, with tracing paper as a diffuser, for a shelf or headboard.
- Beginner
- 30–60 min
- $8–$18 USD (29–66 AED)